Month: October 2013
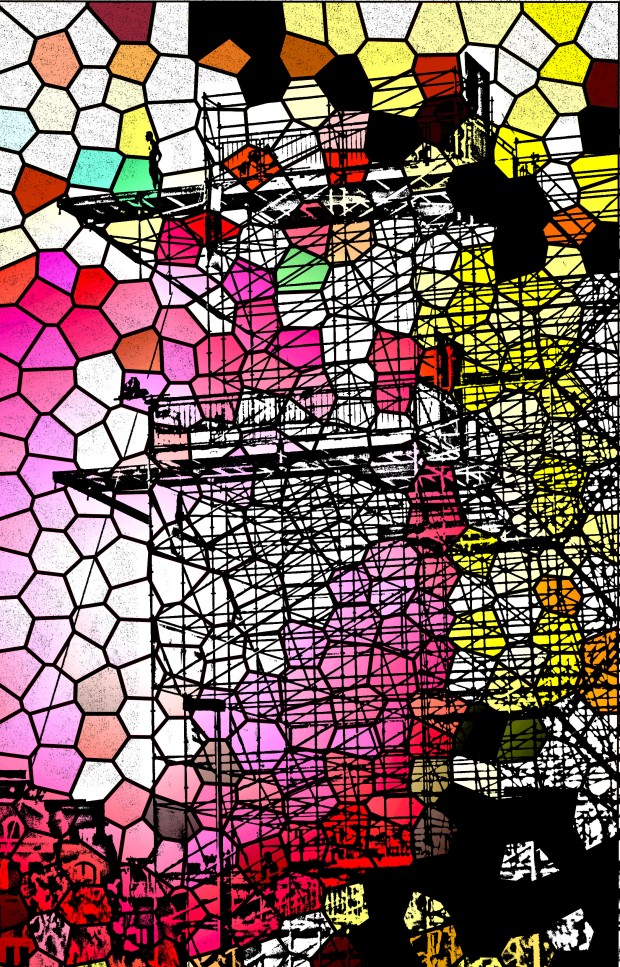
Print Design for Digital Printer #4

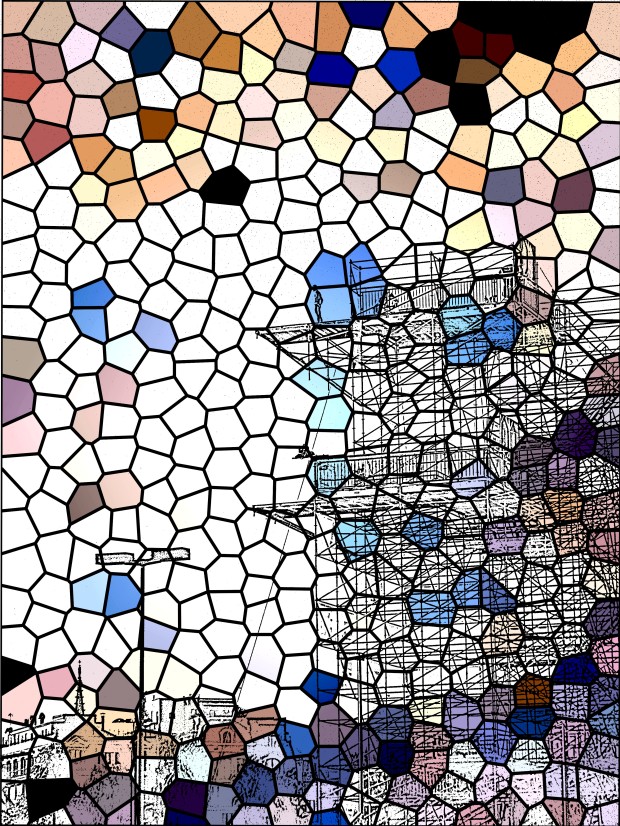
Print Design for Digital Printer #3
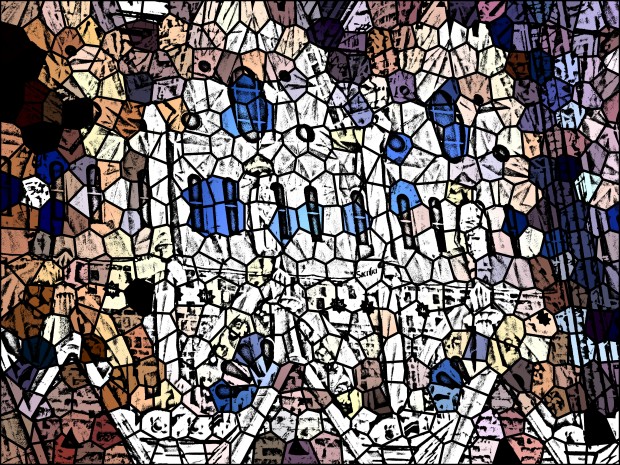
Print Design for Digital Printer #2
Print Design for Digital Printer #1

Draping on the Stand

So during our recent explorative pattern cutting session, we learned how to drape patterns on a stand. This method allowed us to really explore, experiment and push the boundaries when creating shapes for a pattern. An essential thing to remember while draping on a stand is to label the different parts of the mannequin. (Mark center front, center back. seam allowance, notches ect.)
We had the choice of either using a circle or square shape fabric as the cavity. Cavity means the way the body is covered by a shape. For me as a design student, it is up to me how I direct the placing of the fabric. Designers such as Yohji Yamamoto and Vivien Westwood are quite fond of this technique.
I started off by placing a square shape cavity over the mannequin.


As decided to created a a shape with a high rise neck and layers of fabric covering the arm hole.


Then I added darts on the front/back for a more flattering fitting.


Overall I really did enjoy exploring this particular method for developing pattern shapes. During the process, I ended up coming across shapes I probably would have not developed using conventional flat patterns.
The silhouette of my shape on the stand ended up looking like a turtle. This particular shape is something i might further explore, when I create a garment for the Design ID unit in my course.
